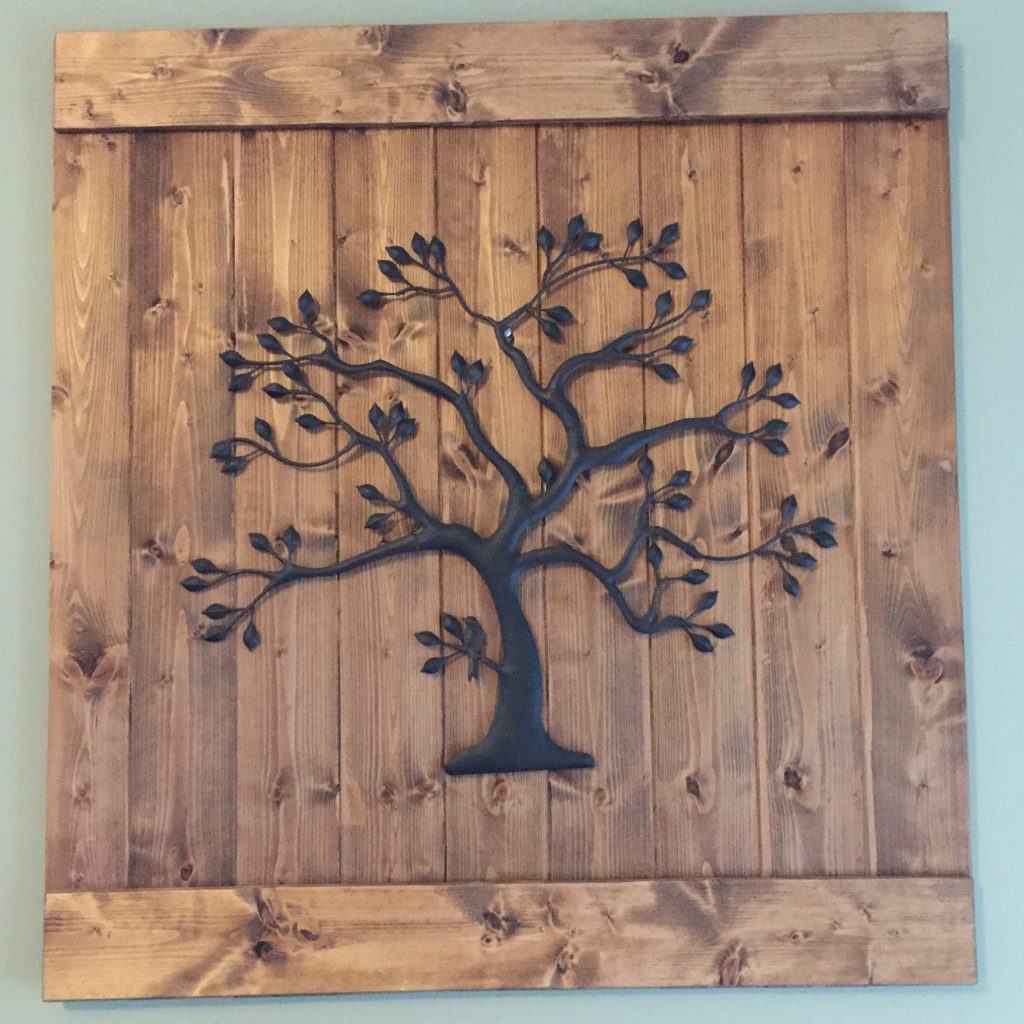
When we bought our house, I needed to fill a lot of walls with decor and as I started looking around online I found a metal tree on a piece of reclaimed wood that I loved but didn’t love the price! I wasn’t about to pay 299 dollars for anything, especially to put on my wall above my couch.
So I looked at it and thought… I could totally make that for way cheaper! I found a metal tree for 20 dollars, and then I went to the hardware store and bought some beadboard. One side of the beadboard had grooves and I wanted my planks to be smooth so I used the back of the beadboard as the front of my project. All I did was glue the pieces of wood together in the tongue and grooves using a hot glue gun and stained them. I used an “Early American” Stain for the first coat and a second very thin coat of “Espresso” because I didn’t want it to be dark. Once I glued together enough pieces, I wanted to put a boarder on the top and bottom, so I hot glue gunned a board which I cut down to size to match the width of the boards underneath.
Once everything was dry, I centered the tree and used a tack to keep it in place- because the boards are so thin I didn’t think a nail would work, it would go right through the wood.
I also glued another board along the top of the back of the project so that it would bulk it up and I could screw some picture brackets on the back. After that, is was finally ready to be hung it on the wall above my couch!
Advise
– When I first put this together I used wood glue which worked, but took a lot longer to dry and I had to use clamps. It held together but I found out a couple years later that with temperature changes, it started to come apart especially the boarder pieces that I placed on the top and bottom. Using a hot glue gun was a second thought to fix the problem and worked wonderfully!
-You can easily add more thumbtacks along the boarder to make them look like nail heads, and add to the rustic industrial or farmhouse look.